NYC Micro Dwellings Architecture Renders
Introduction
With the design and materials of the NYC Micro Dwellings all set, I focused on developing exterior and interior renderings. The challenging part of developing each rendering was setting the camera views in approximately the same location as the site photographs. I simply rendered each view a few times and adjusted the camera with each rendering. Surprisingly, the massing model of some of the buildings around the site and the Revit model’s time of day made the lighting conditions and shadows appear close to accurate with the photographs. In this post, I’ll briefly summarize the steps that I took to develop the NYC Micro Dwellings’ renderings and I’ll develop a more in depth making-of post in the coming weeks. Check out the final renderings of the project and let me know what you think in the comments section.
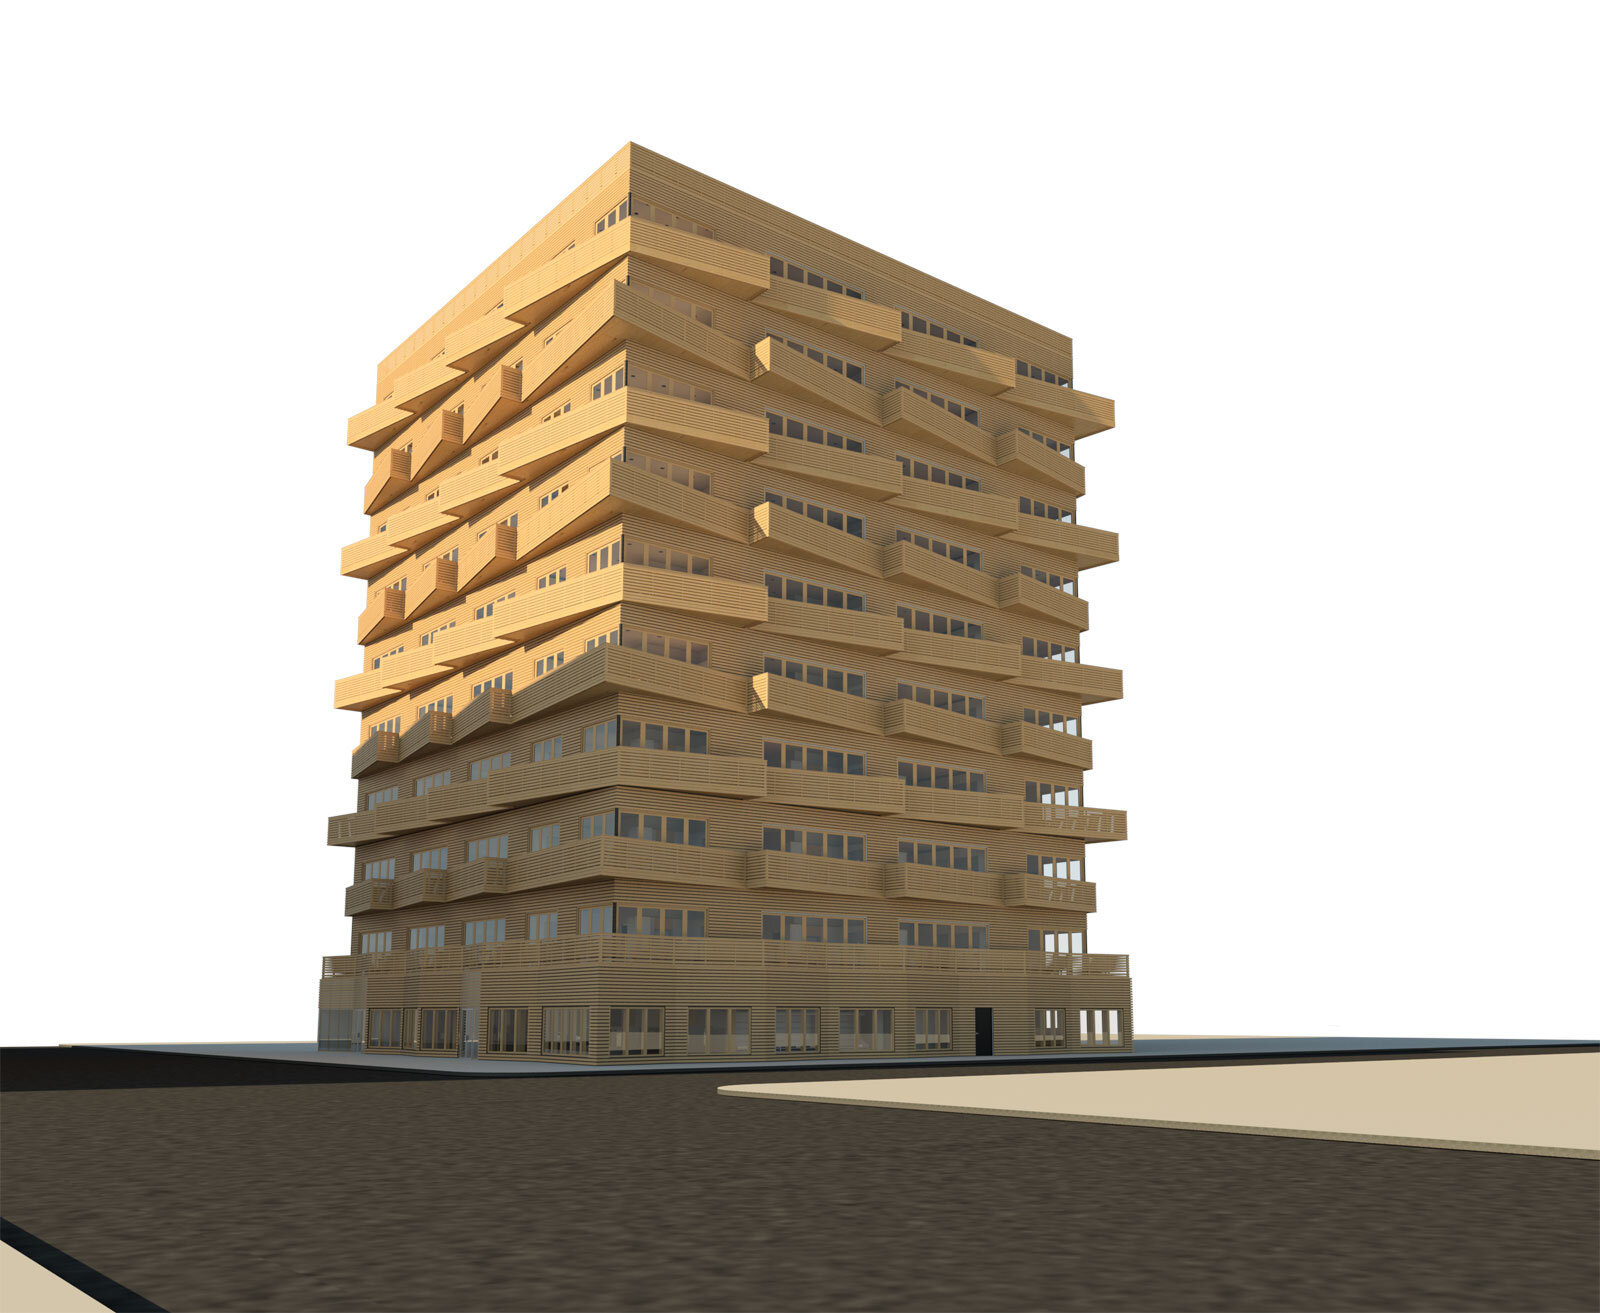
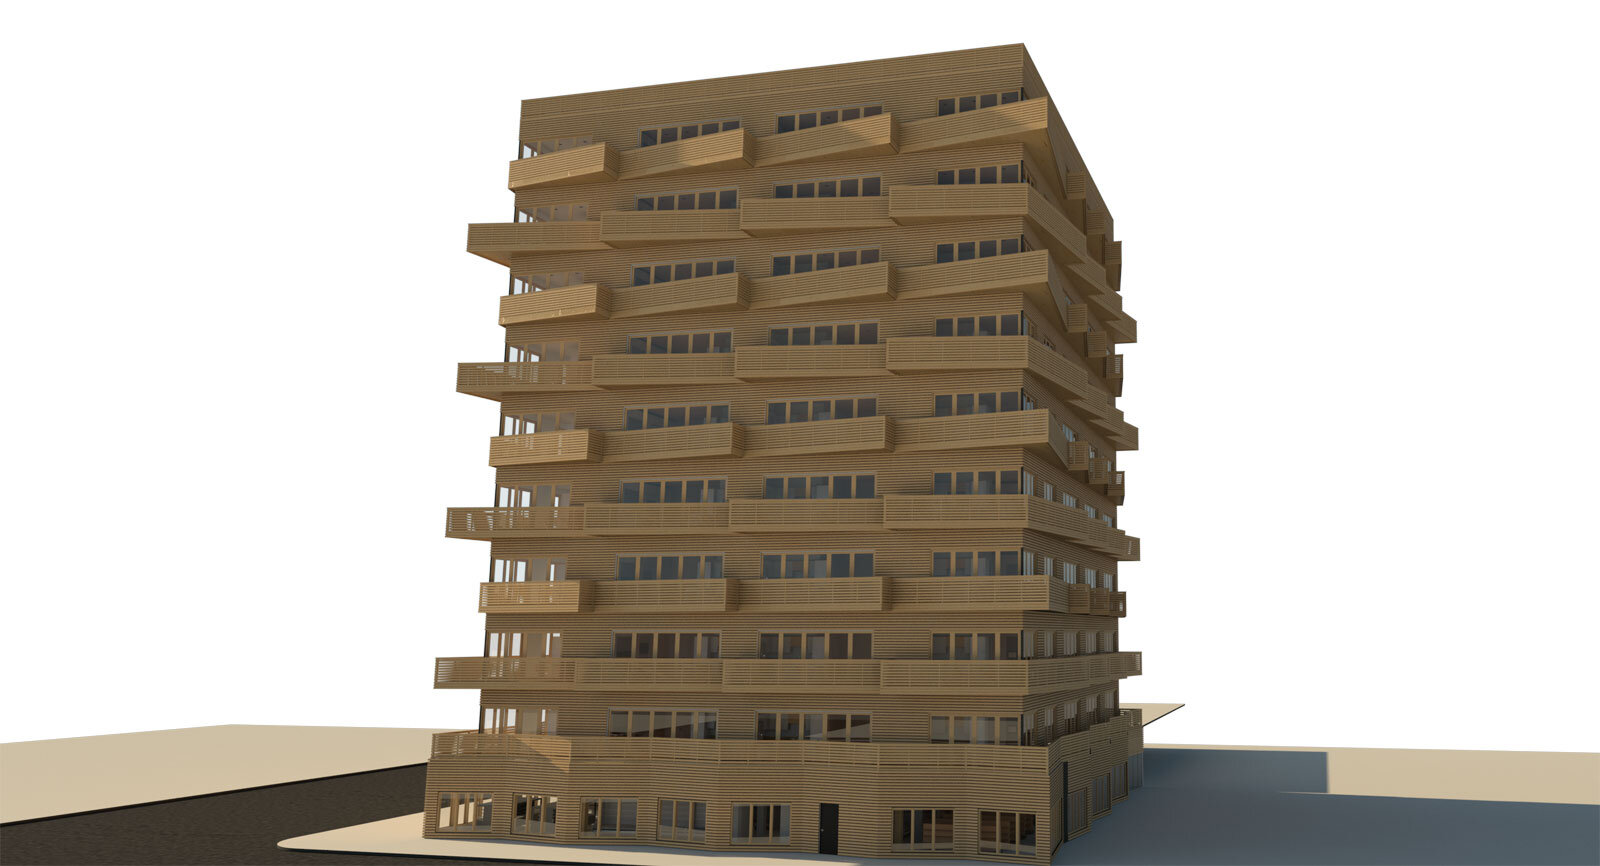
NYC Micro Dwellings Exterior Renders
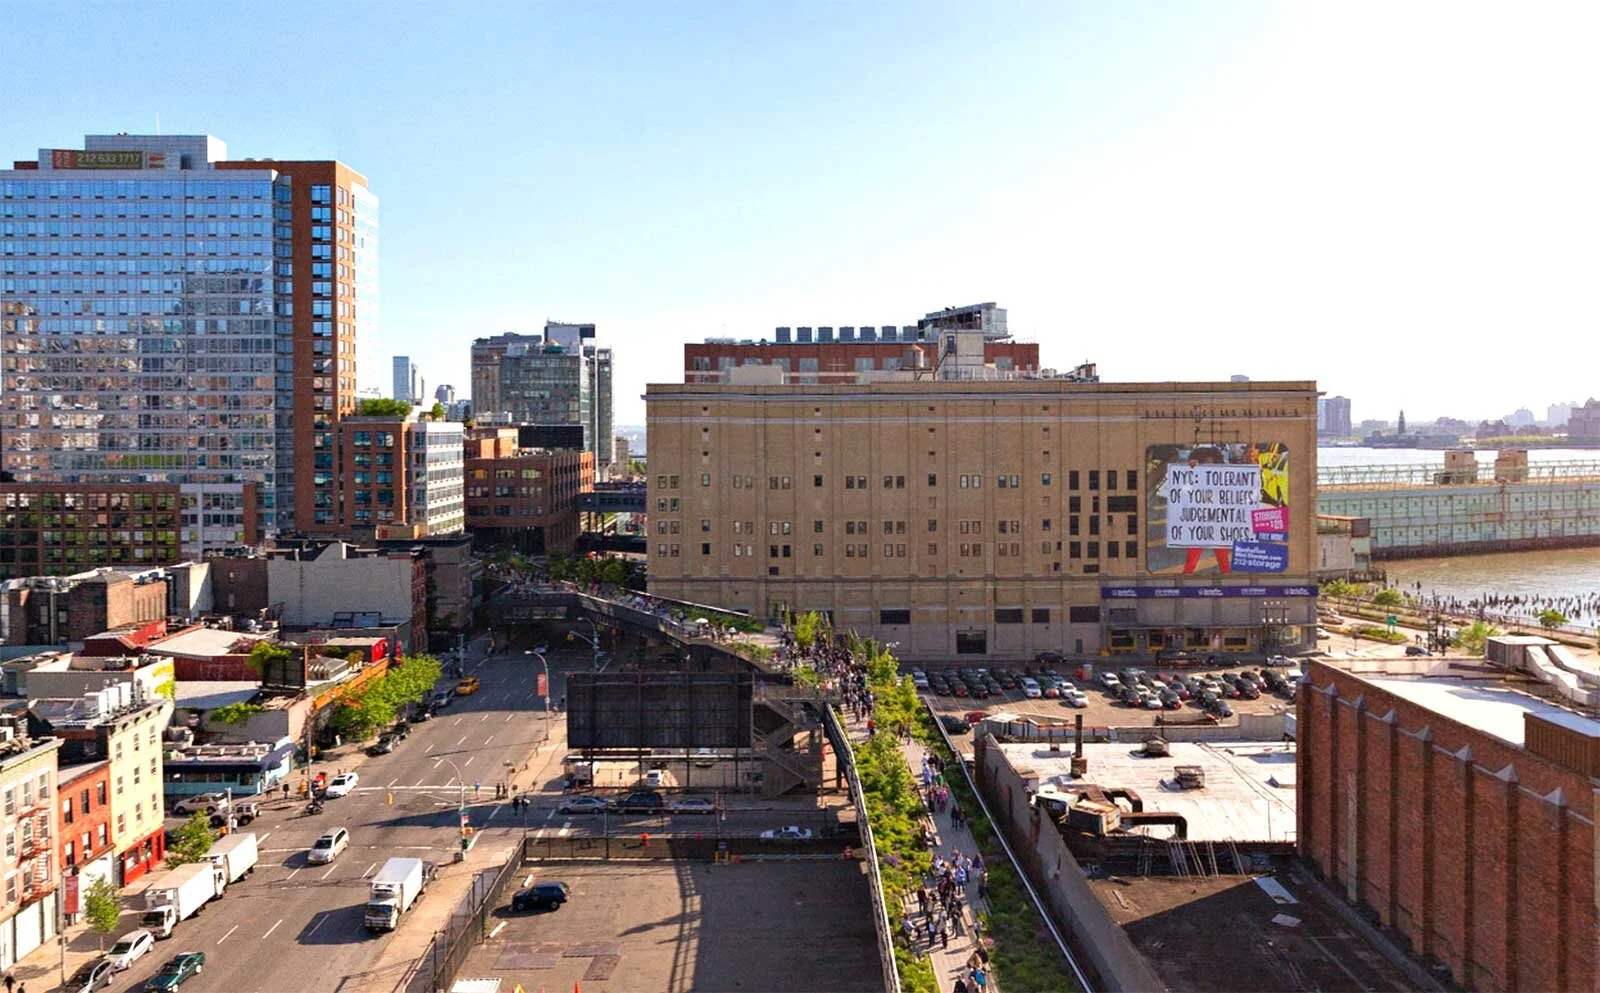
While going through the photographs of the site that I selected in the previous post, I narrowed down to two different exterior views. The first view is from the corner diagonally across the street from the NYC Micro Dwellings’ site on the ground level and the second view is from the Highline walking south. Once the materials and camera views were set, I rendered high resolution PNG files and moved into the post-processing stage. Each render took about 3 hours in the post-processing stage and the final renderings showcases the project the way that I imagined.
Here’s a quick summary of how I brought each base rendering through the post-processing stage. I started by overlaying the base render on the site photograph and adjusting the scale of the render to fit. Once the NYC Micro Dwellings was on the site, I used the lasso tool to erase site massing and floors so that only the designed elements were in the render. Then, I turned down the opacity of the building so that I could see the photograph and erased parts of the base render that was blocked by an object in the foreground of the photograph. This would’ve taken forever in the view from the Highline, so I inserted entourage trees over the render and erased portions of the building to blend the existing trees with the entourage trees.
Then, I added a people on the balconies of the NYC Micro Dwelling, in the background, and in the foreground of the render to add depth. The final step was duplicating all of the layers, merging them, and bringing the merged layer into Topaz Labs Adjust where I applied a filter to the scene to bring out some of the details that were lost in the render.
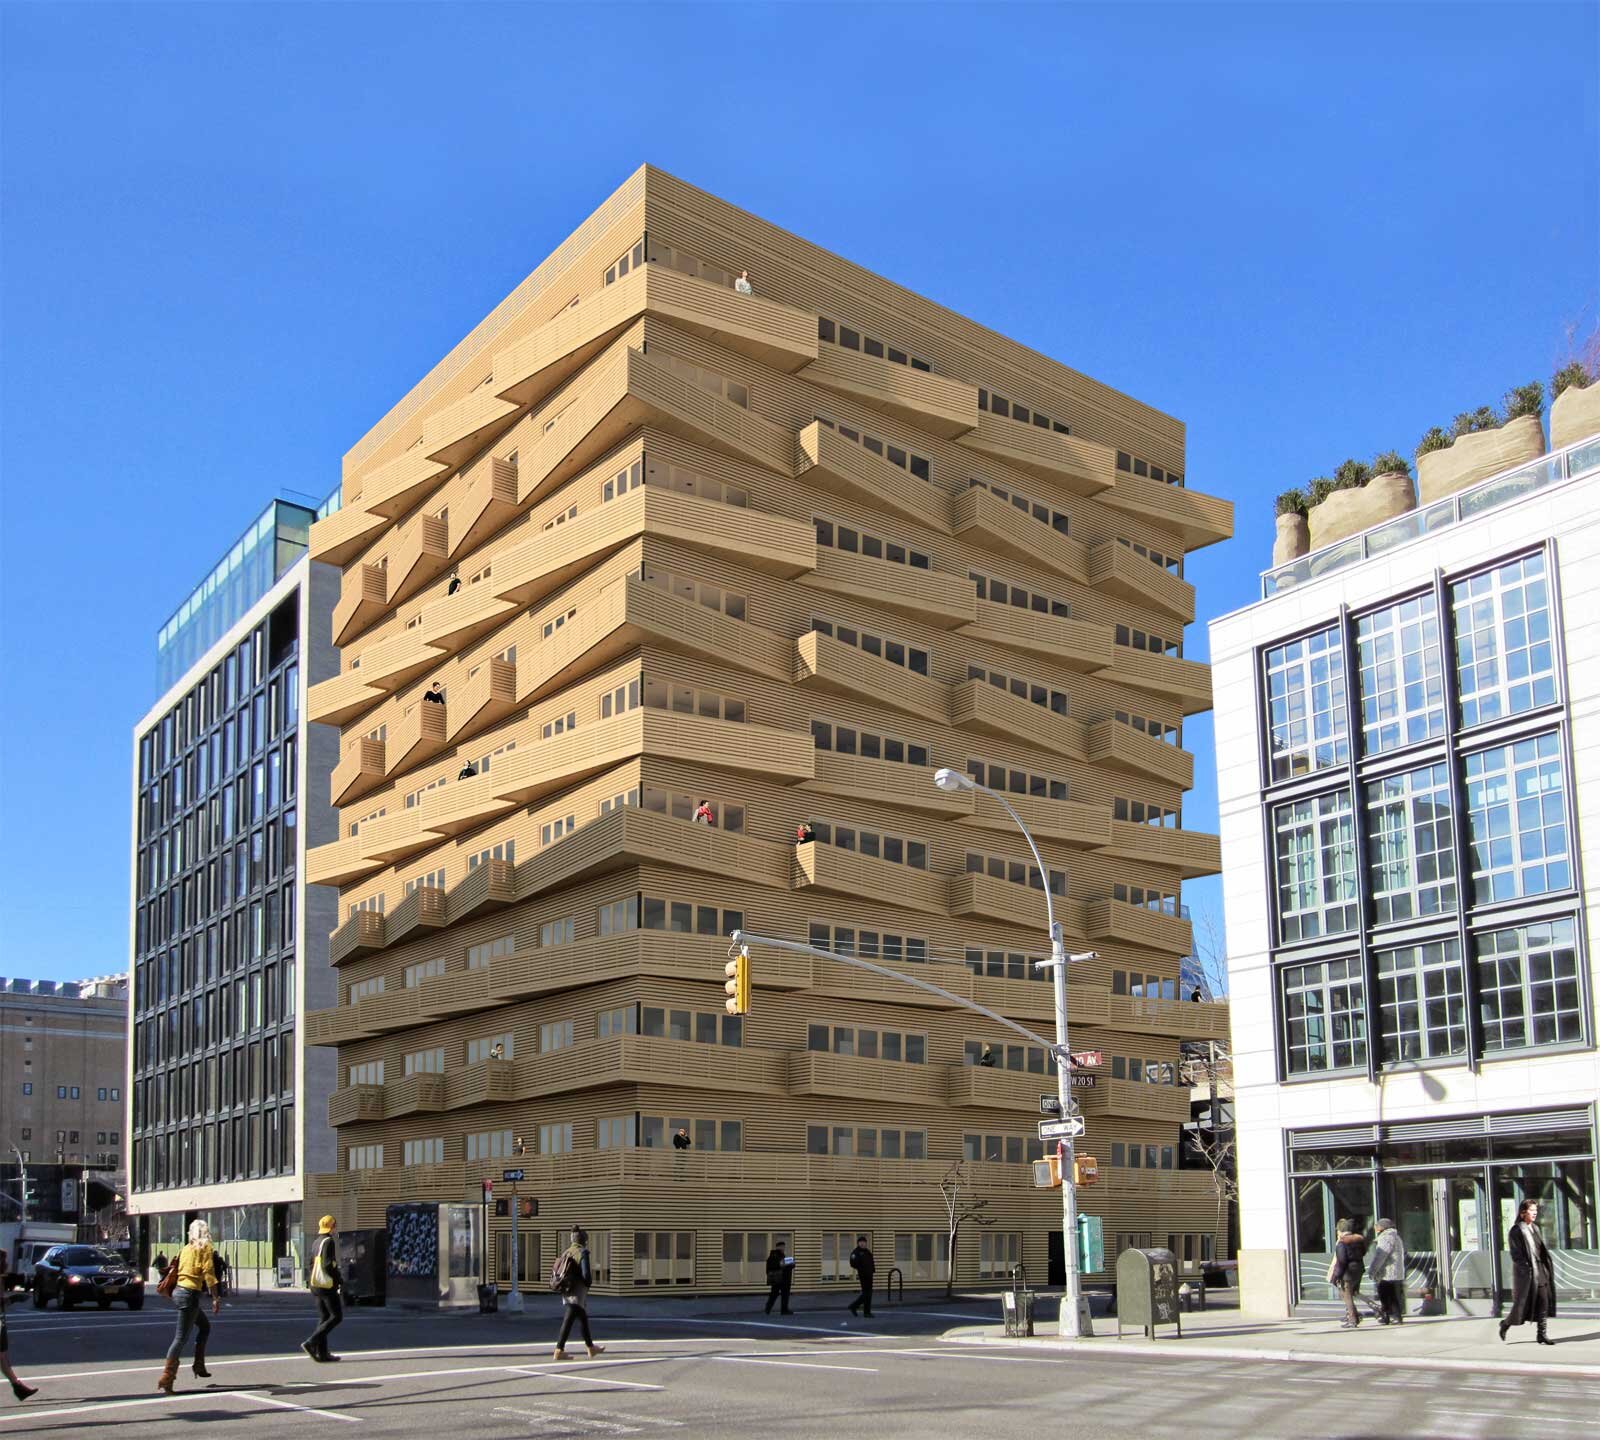
This first exterior rendering captures the scale and materiality of the building against the adjacent context and focuses on the perspective of a person at street level. I chose this particular photograph and render because I was curious about the relationship between the exterior form and wood rain screen system with the stone and steel of the adjacent buildings. In my opinion, the wood rain screen creates a natural and warm aesthetic against the stone of the adjacent building.
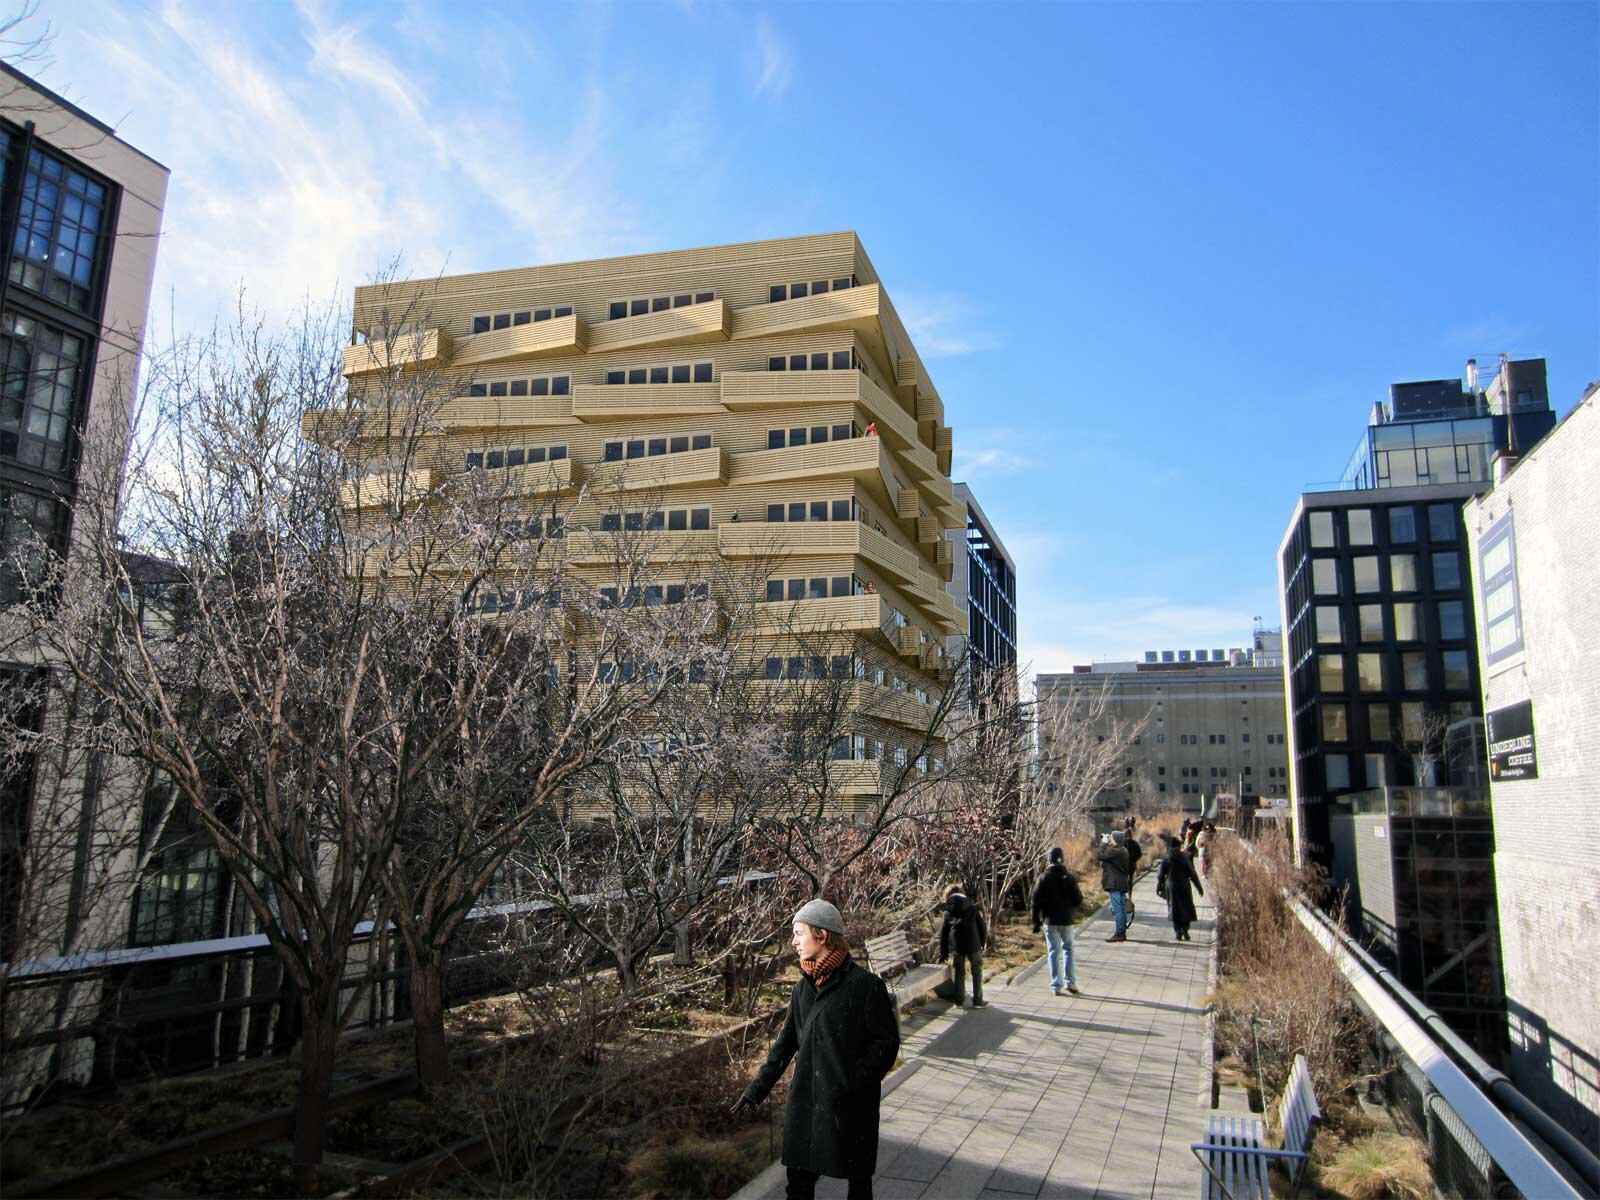
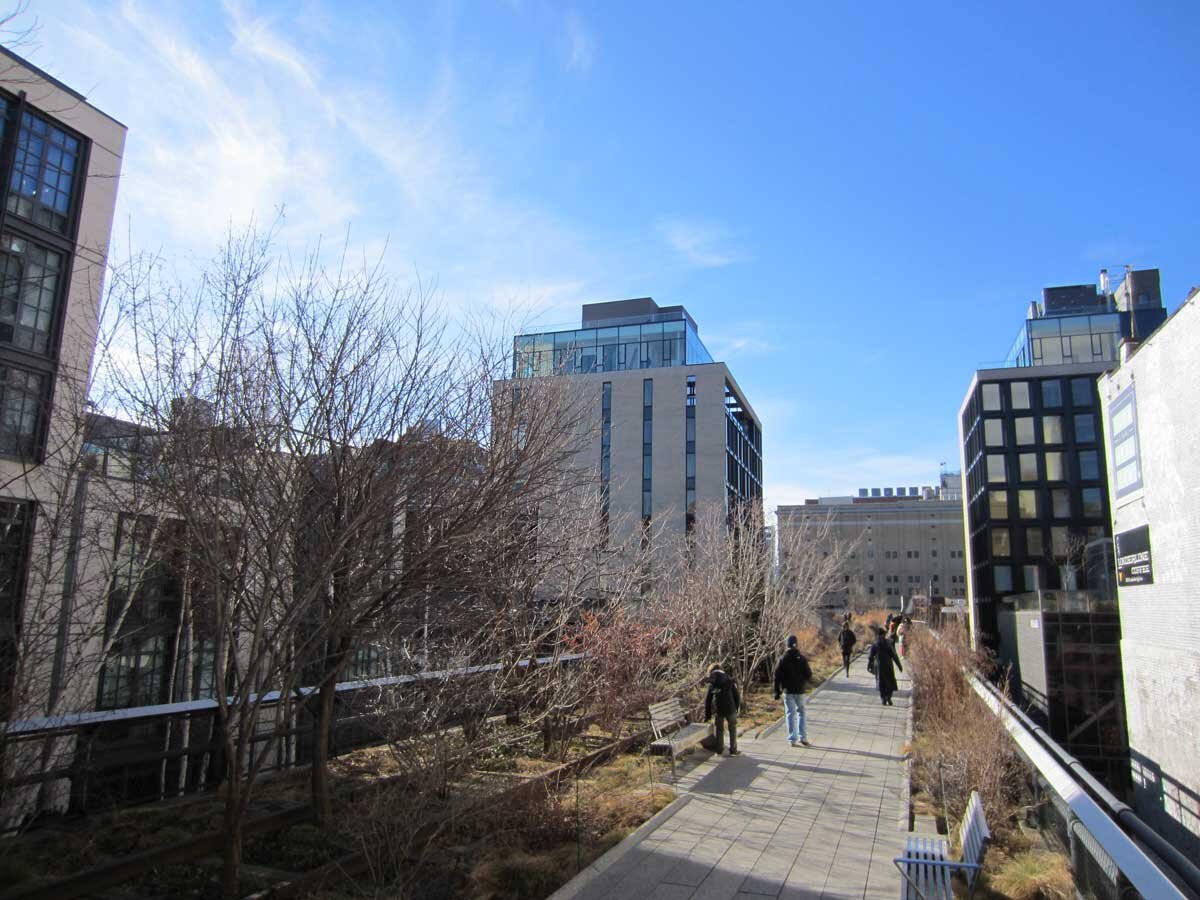
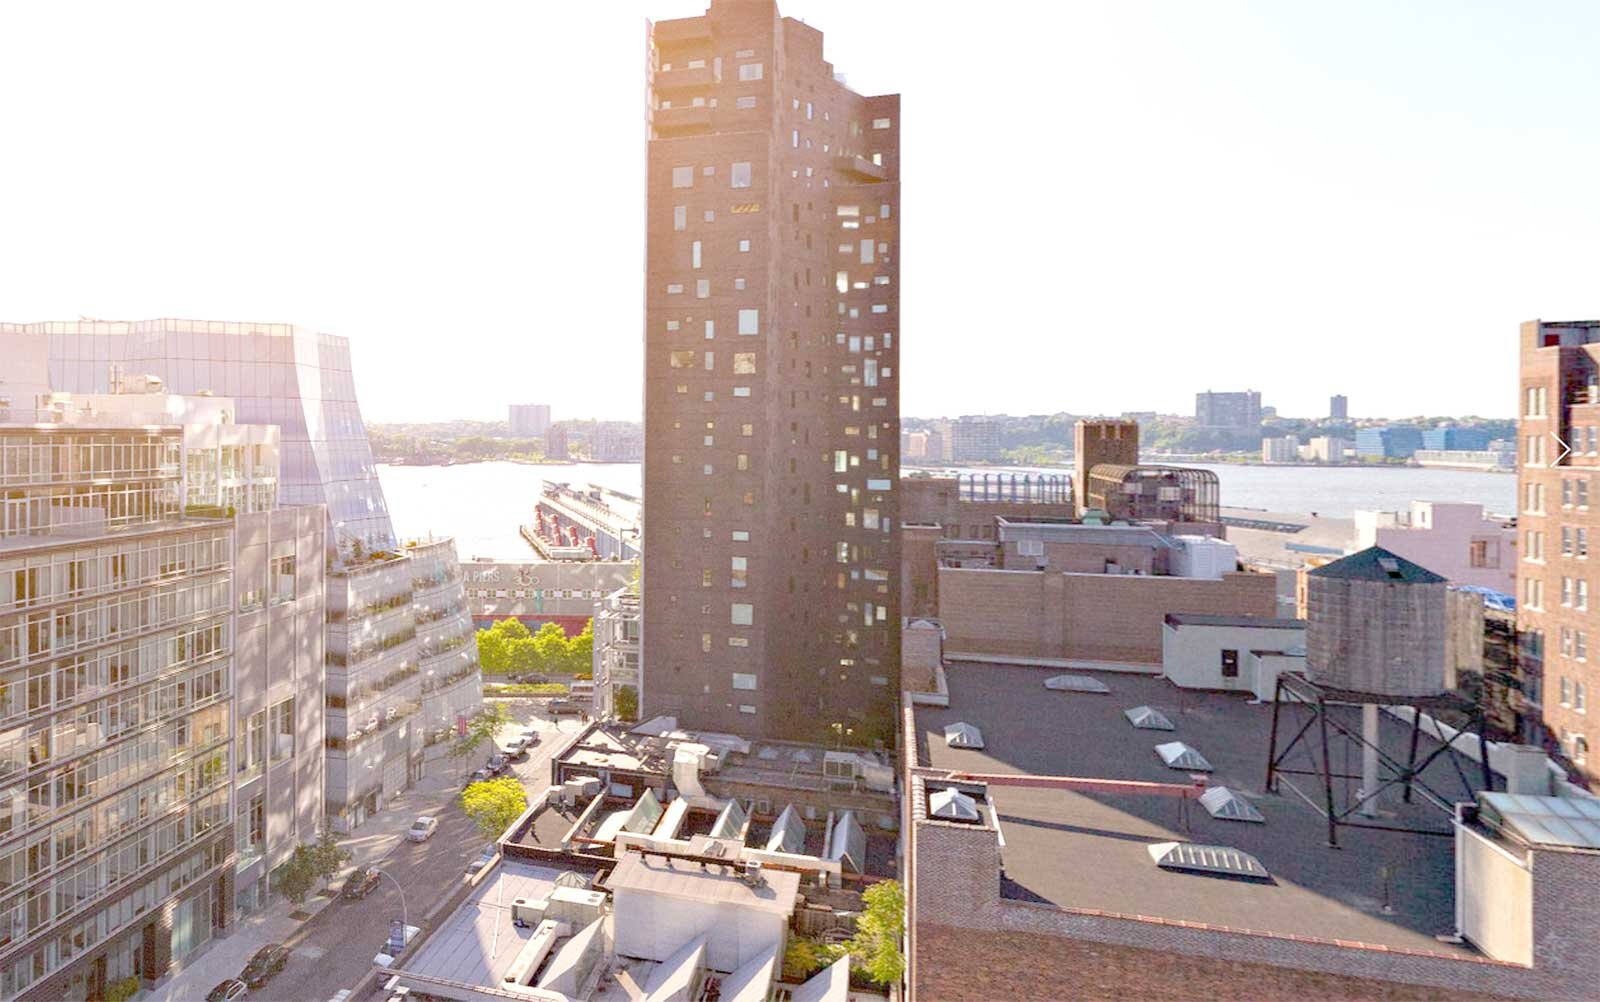
The second exterior rendering shows a view of the NYC Micro Dwellings from the Highline. I chose this photograph and render to show the relationship between the exterior materials of the building and the Highline. The wood rain screen continues the design of the benches along the Highline and works together with the adjacent buildings to relate the other existing materials.
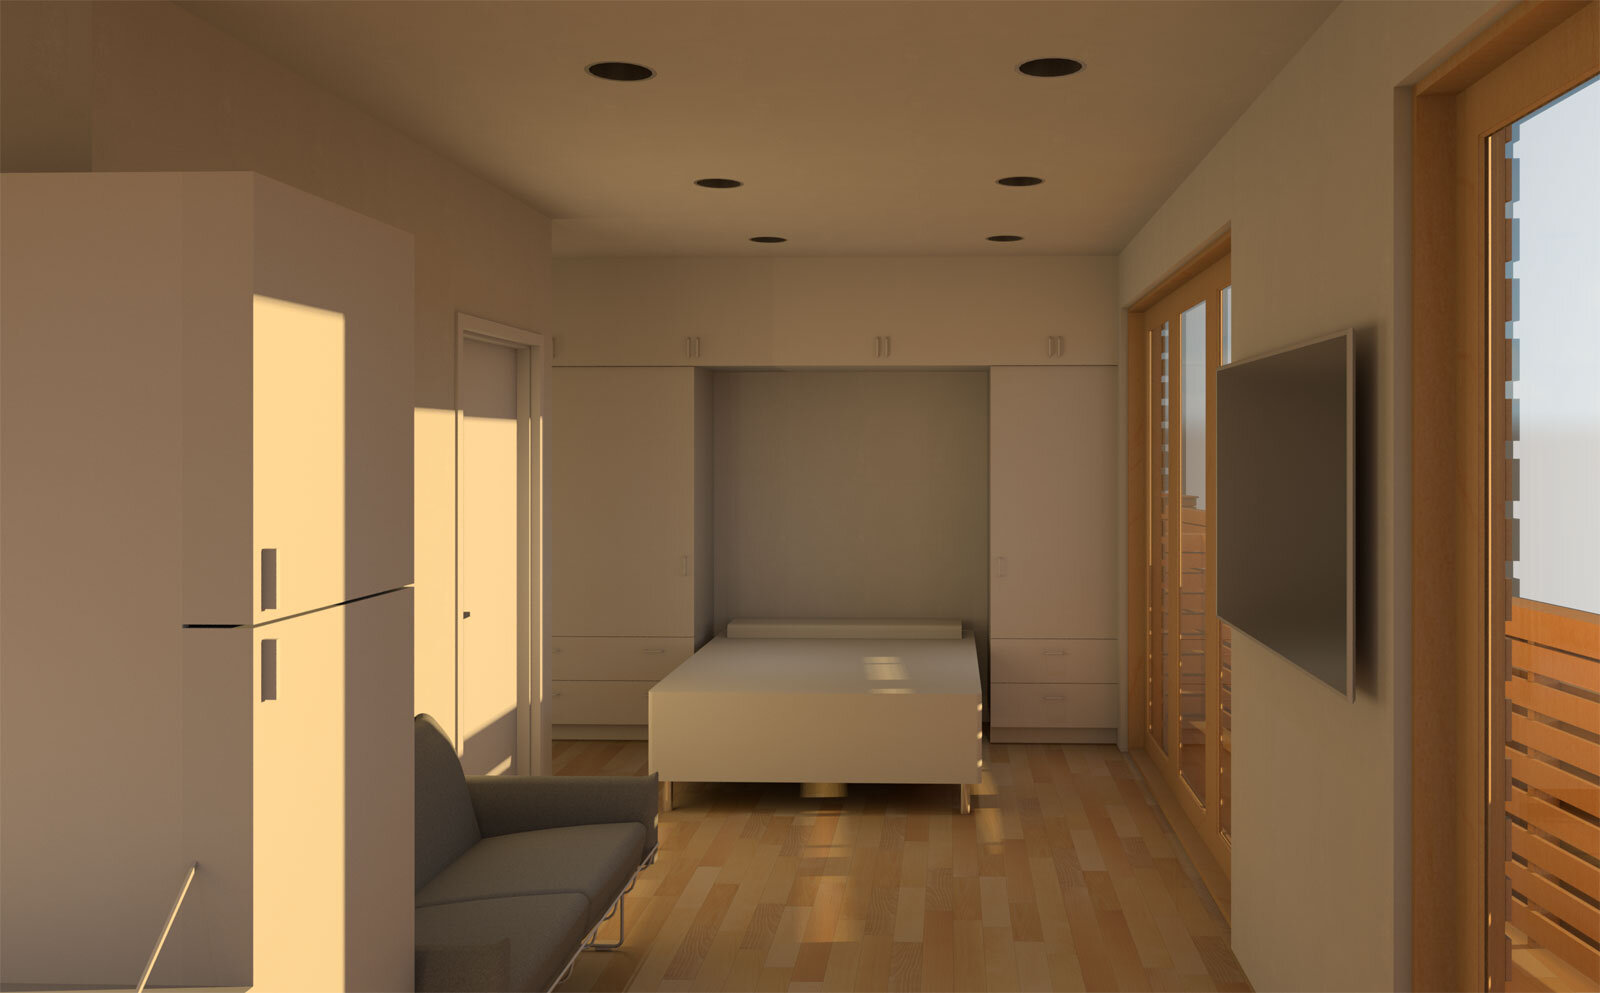
NYC Micro Dwellings Interior Renders
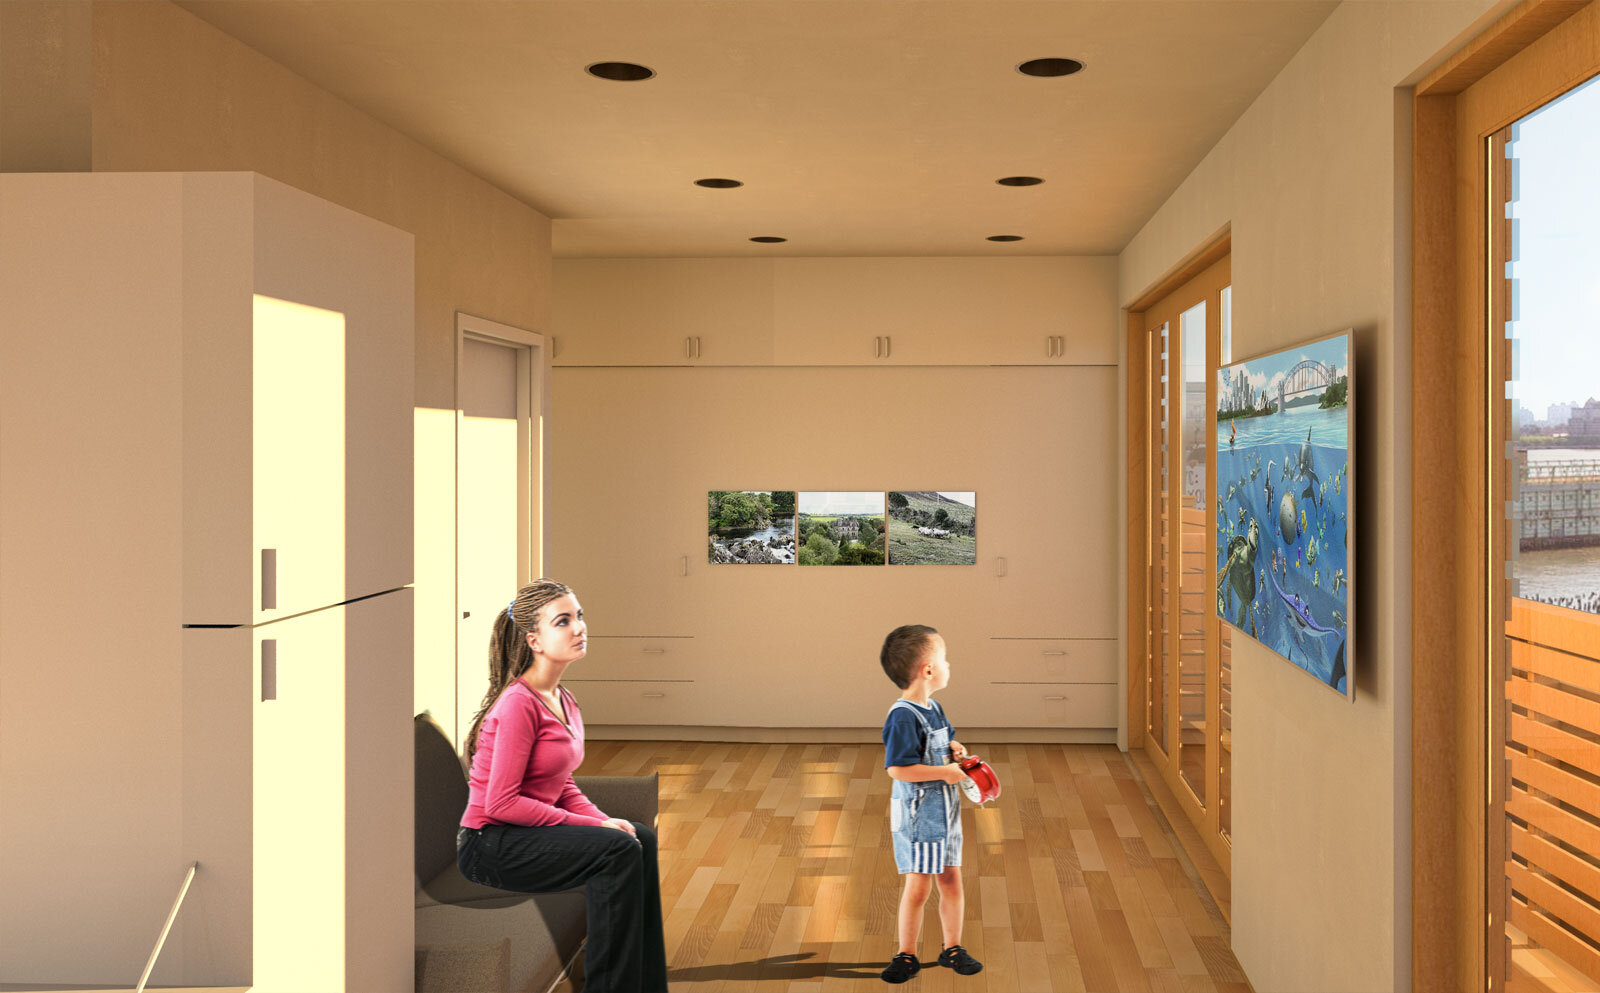
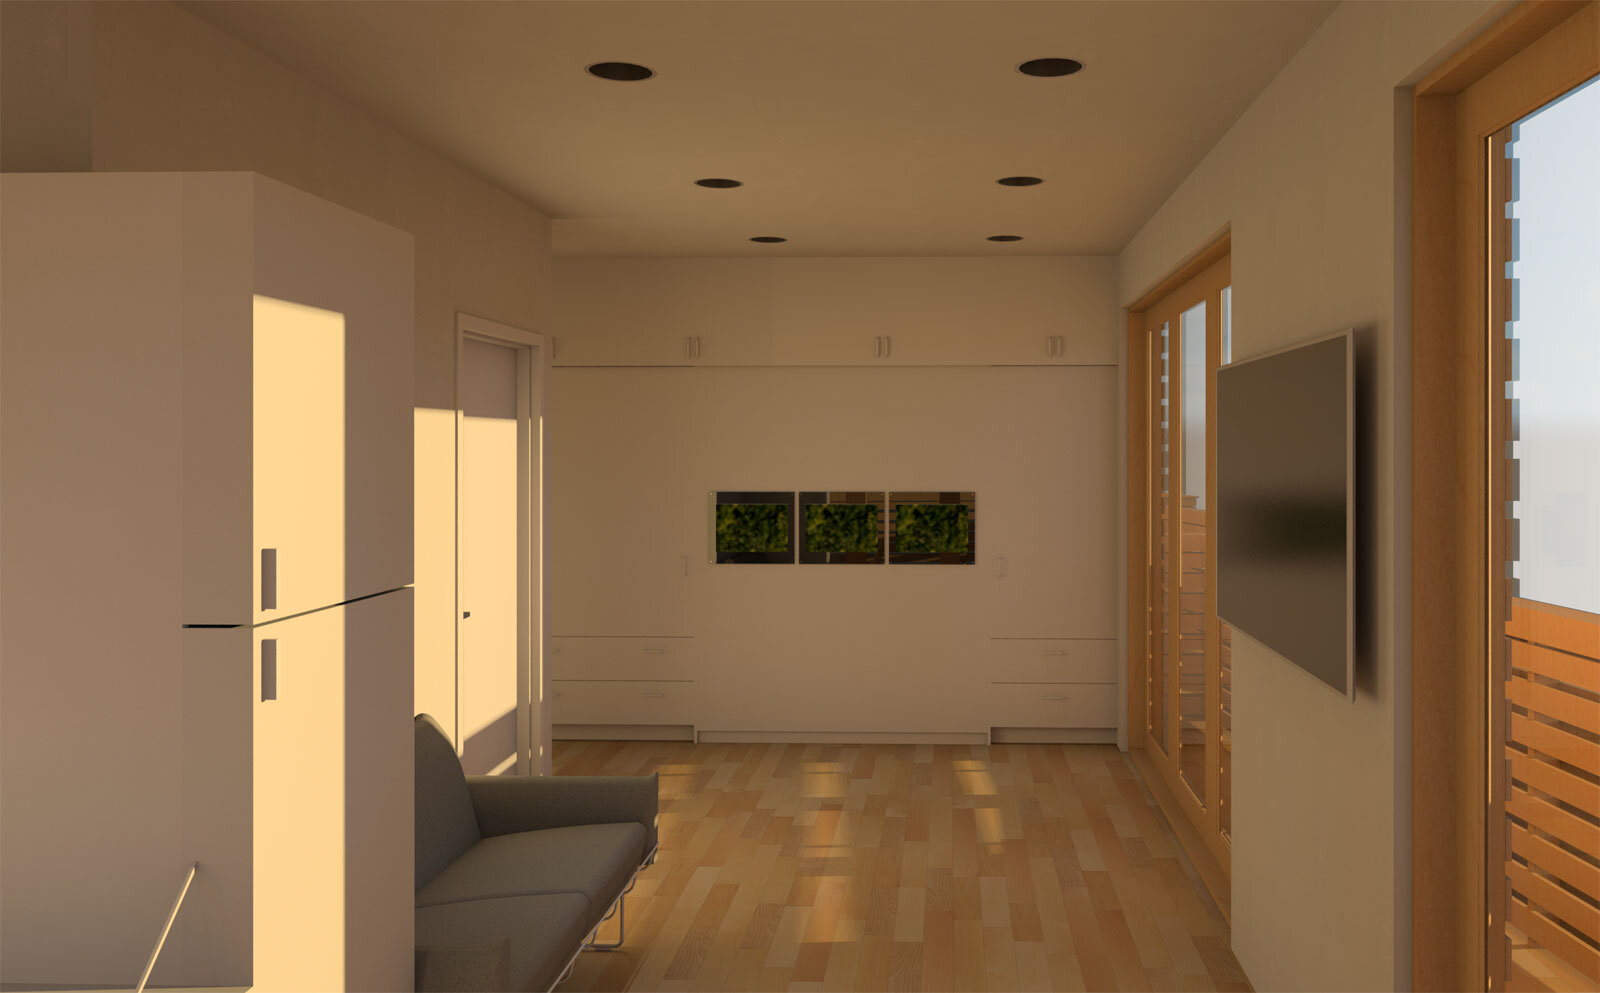
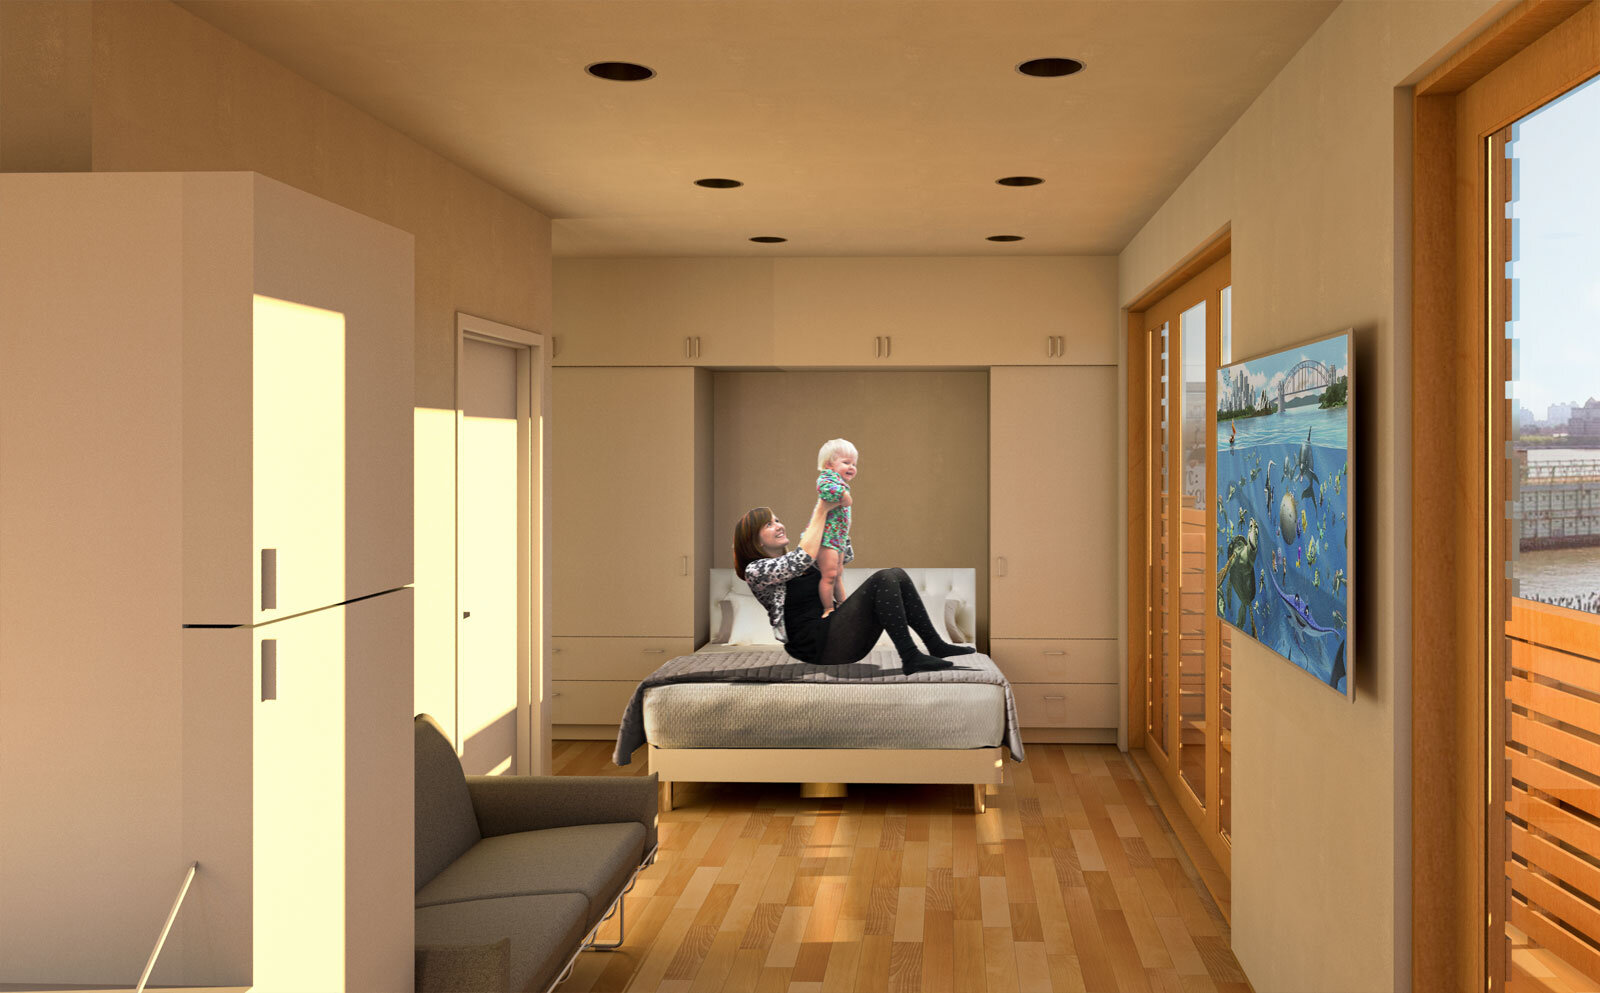
After completing the exterior renderings, I started working on renderings inside of a unit. I chose a corner unit that had views west towards the Henry Hudson expressway and found some fantastic photographs to collage into the background of each rendering. I setup the sun to an approximate time so that the shadows and direct light in each rendering would match with the shading and light from the photograph.
Once each base rendering was complete, I brought them into Photoshop along with the photographs of views outside of the windows. My first step with this render was to get the proportions of the exterior scene to match with the rendering. Then, I adjusted the brightness and contrast of the base render to blend with the view in the photograph and added entourage. The last step was to bring the final rendering into Topaz Labs Adjust and apply a filter to add depth to the wood floors and blend elements in the rendering together.
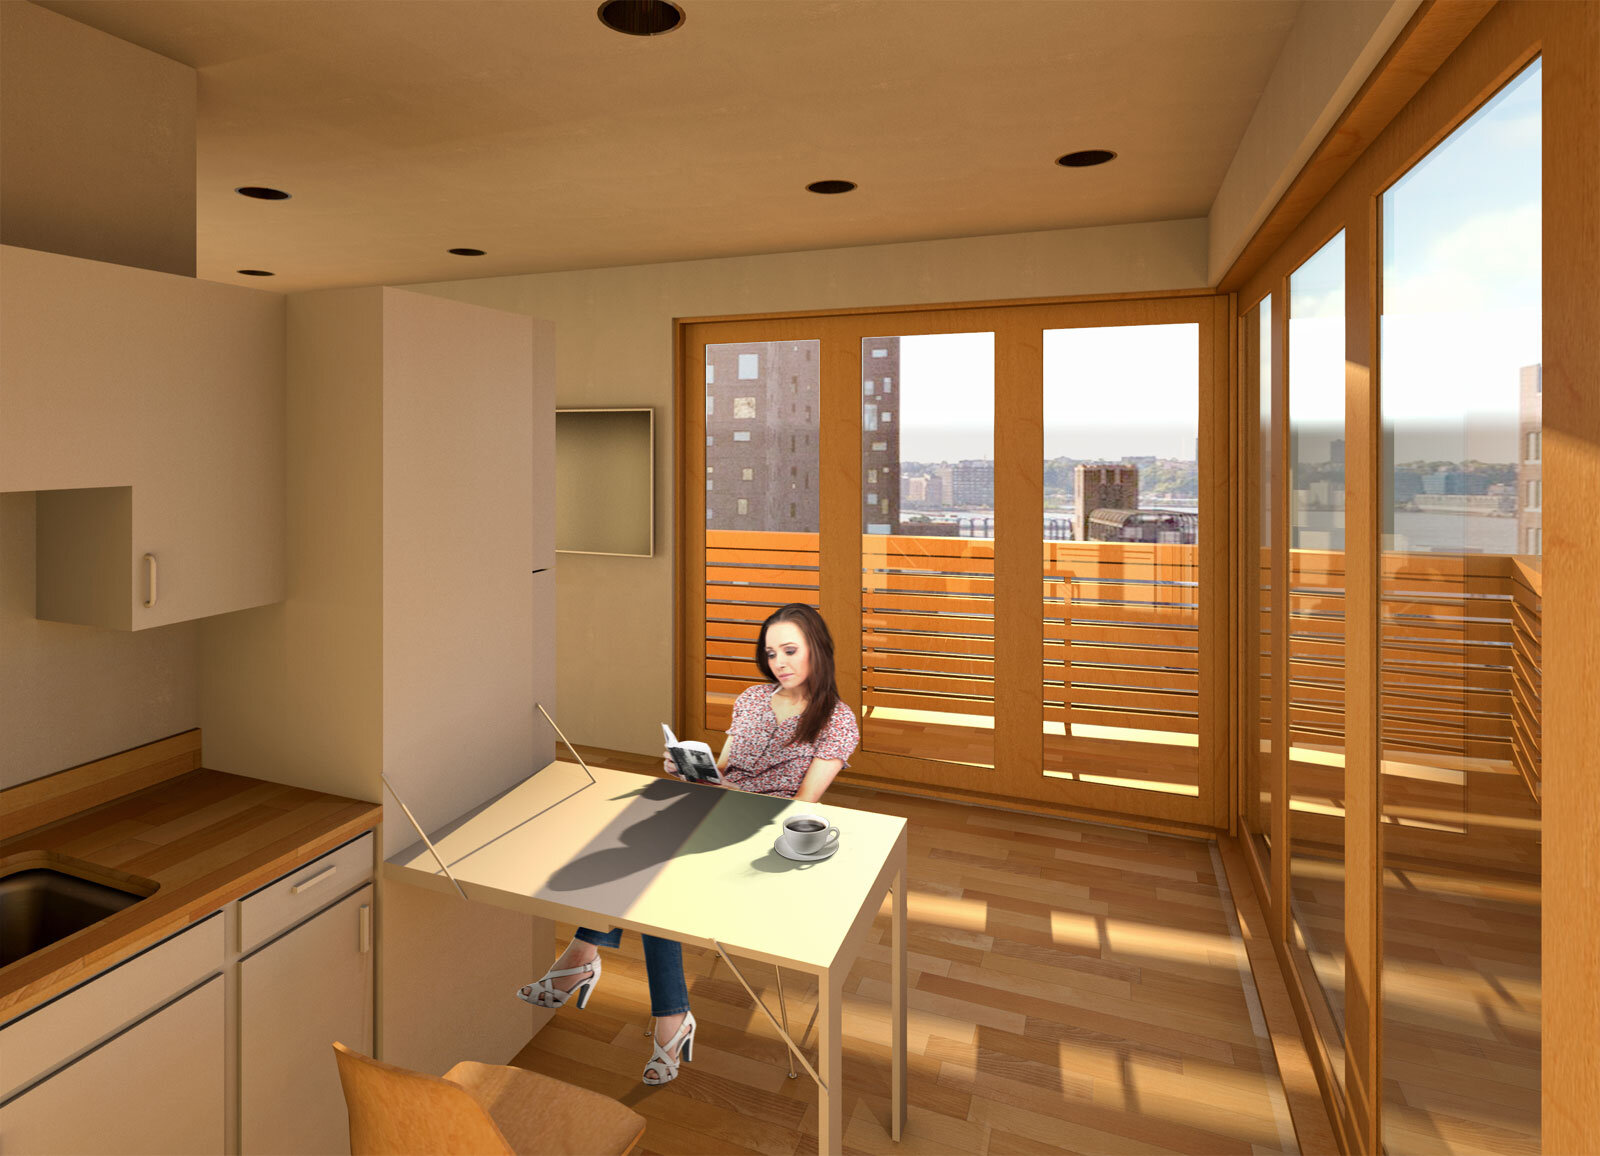
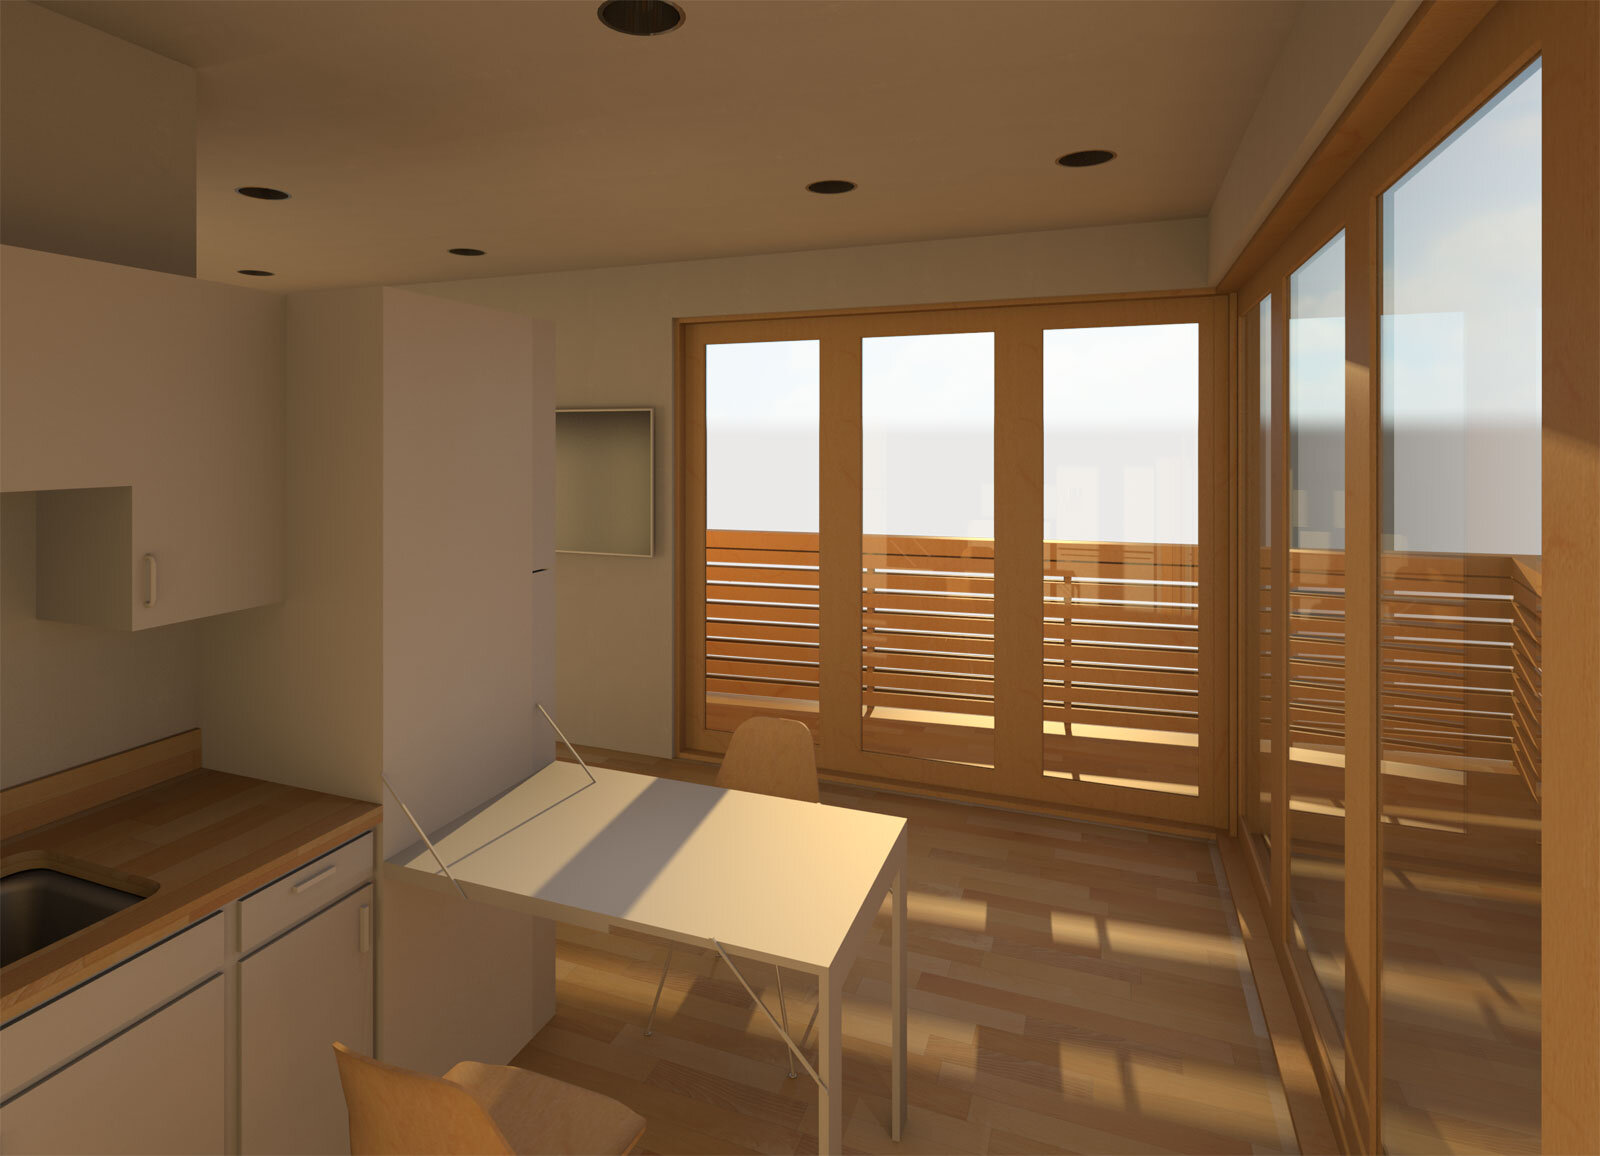
This first interior rendering of the NYC Micro Dwellings focuses on the multi-fold door system and the folding table that’s built into the side of the cabinet. When in use, the table is easily folded down and stackable chairs are taken out of the cabinet. The multi-fold door system is able to open the interior spaces to the exterior, allowing passive cooling in the spring, summer, and fall.

Next Steps
It’s been a very busy week developing these all of these renderings and I’ve been excited to finally share them in a post with you. Over the next few weeks, I’ll be wrapping up this project by finalizing floor plans, a section perspective of the building, and any other visuals that I might think of along the way. I’ll also be developing making-of posts for the NYC Micro Dwellings renderings in the post-processing stages and it’ll be posted to my tutorials page.